
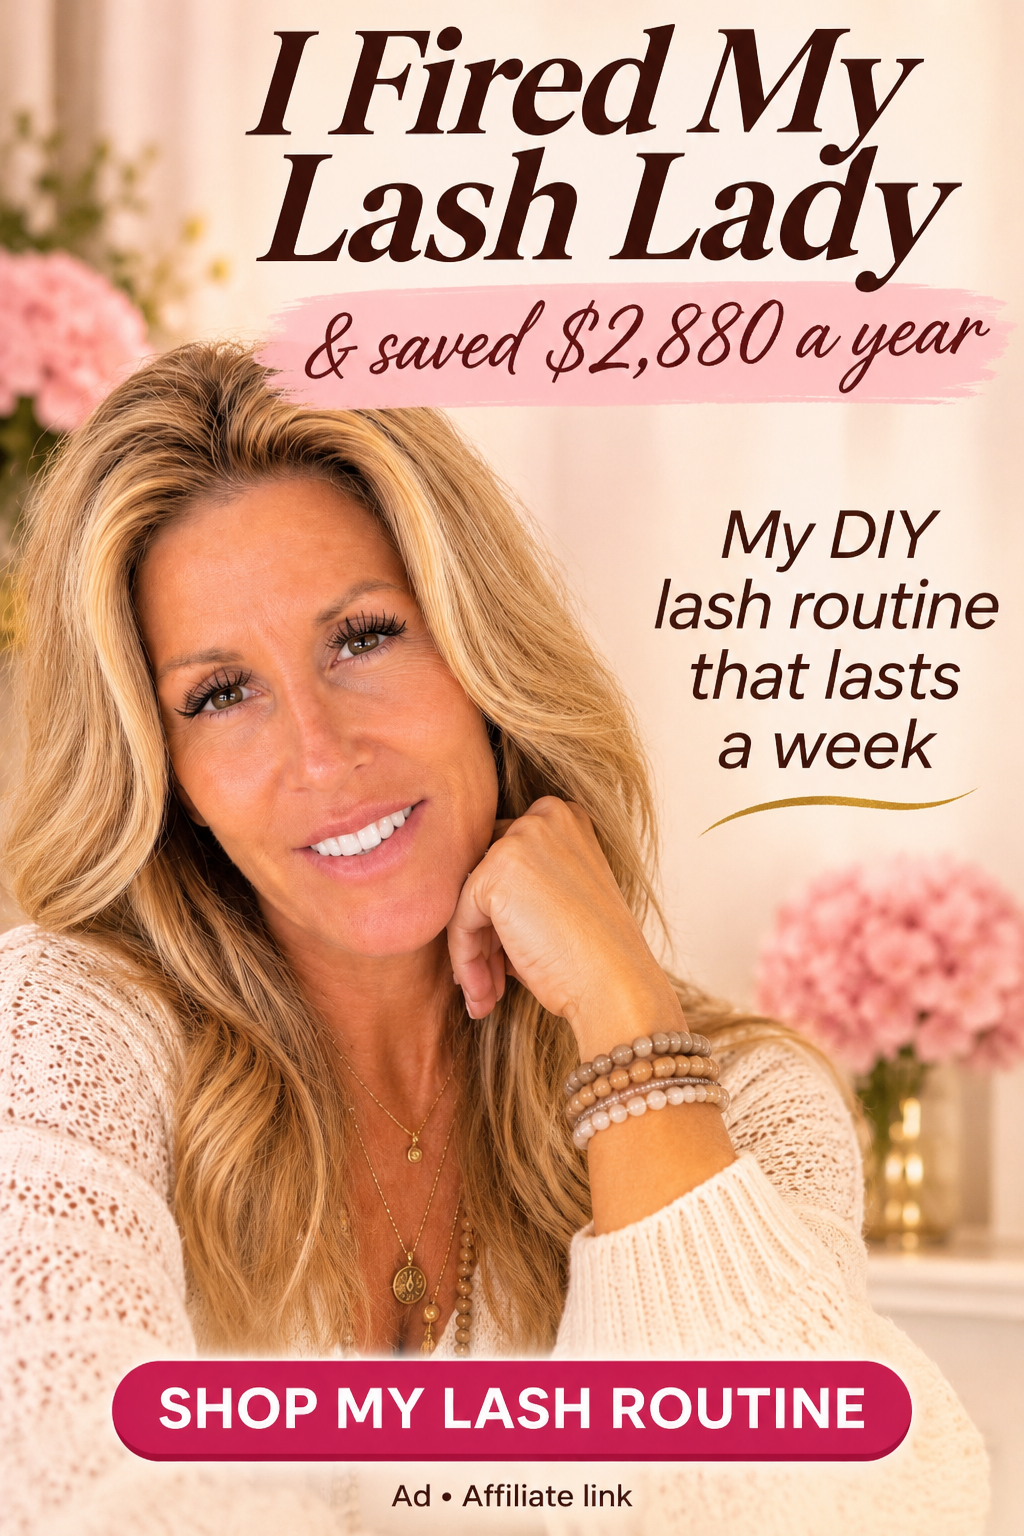
Four years ago, I fired my lash lady. Nothing personal. She was lovely. But $250 a month was not.
So I learned to do my own lashes at home. Today I spend about $20 every couple of months, my lashes last about a week, and I’ve never had to rearrange my schedule around a fill appointment again. Here’s everything I use, in the order I use it.
This post contains affiliate links. As an Amazon Associate I earn from qualifying purchases, at no extra cost to you.
Salon lashes
$250/month
about $3,000 a year
My DIY routine
~$20
every couple of months, about $120 a year
What I saved
about $2,880 a year
That’s a vacation. Or a lot of lattes.
“I didn’t need a lash appointment. I needed better tools.”
THE GRACE & ROOTS RULEJump to a step
My DIY Lash Routine, Step by Step
Step 1
Start With Clean Lashes
My pick: EMEDA Lash Shampoo Kit
Clusters won’t stick to lashes with oil, makeup or moisturizer on them. This kit comes with an oil-free foaming lash shampoo, a brush, a rinse bottle and a little fan to dry everything fast. Clean lashes are the difference between clusters that last one day and clusters that last all week.
Don’t complicate it: wash, rinse, dry, then glue.
Shop this step →Step 2
The Right Tools
My pick: Arroyner 5-Piece Eyelash Applicator Set (Rose Gold)
An applicator, tweezers, a curler and small scissors in one set. The applicator makes placing clusters so much easier than fumbling with your fingers. It’s also very pretty sitting on the vanity, which matters.
Shop this step →Step 3
The Lashes (I Buy the Kit)
My pick: Pawotence DIY Lash Extension Kit, 30D & 40D, 9–16mm (280 clusters, with bond, seal and tweezers)
I always buy the full kit instead of just the lashes. Lash glue dries out over time, and tweezers get a little funky after a while, so a fresh kit means fresh glue and fresh tweezers every round. You get both 30D and 40D clusters, so you can go softer and natural or fuller and fluttery, and the mixed lengths let you go shorter at the inner corners and longer toward the outer edge.
Don’t complicate it: one kit, everything you need, nothing dried out.
Shop this step →Step 4
Bond, Place, Seal (Plus My Favorite Trick)
My pick: The bond & seal from the Pawotence kit, plus LA MAESII 2-in-1 Bond and Seal
Bond goes on your natural lashes, and each cluster goes in underneath. Then comes my trick: once all my clusters are in, I swipe the sealer between the tips of my tweezers and run them along the whole lash line, gently crimping my natural lashes and the clusters together. The sealer on the tweezers keeps the glue from sticking to them, so nothing gets pulled loose, and everything is sealed and blended in one pass.
The Pawotence bond and seal in the kit works great. When I have the LA MAESII 2-in-1 Bond and Seal on hand, I use that too. It’s waterproof, dries fast and holds strong, so it’s a nice one to keep in the drawer for corner fixes.
My pro trick
Seal your tweezers, not just your lashes. A swipe of sealer between the tips, then crimp along the whole lash line. No sticking, no tugging, perfectly blended.
Step 5
The Side-Sleeper Fix
I’m a side sleeper, so my outer corners take a beating. Instead of redoing everything, I plug in a cluster here and there, mostly in the corners. Two minutes and I’m back in business.
Don’t complicate it: fix the corner, not the whole eye.
Step 6
Keep Your Tools Clean
My pick: Embagol Tweezer Cleanser
Glue builds up on tweezers fast. Dip, wipe, done. Clean tools grab clusters better, and your next application goes faster.
Shop this step →Step 7
Between Sets, Feed Your Natural Lashes
My pick: Grande Lash-MD Lash Enhancing Serum + Handcraft Blends Organic Castor Oil
On my in-between days, I give my natural lashes some love. One thin stroke of Grande Lash-MD along the upper lash line, like eyeliner. I also roll castor oil onto my lashes and brows. It’s a step I’ve kept for years.
Shop Grande Lash-MD →Shop the castor oil →Bonus: Castor Oil Isn’t Just for Lashes
A couple of days a week, I also use castor oil on my face and neck. The roll-on bottle makes it easy and mess-free. It’s an old-school ingredient, and some old-school things just work.
The week-long lash formula
Clean lashes + good clusters + bond & seal + a corner fix when you need it = a week of lashes for a fraction of salon prices.
Should You Fire Your Lash Lady?
I’m not saying everyone needs to fire their lash lady. But if you’ve ever looked at your bank statement and wondered whether your lashes cost more than your car payment, it might be worth a try. Start simple, be patient with your first few tries, and don’t complicate it.