Simple changes and affordable Walmart finds that can make a noticeable difference.
Home & Kitchen · Curated Finds
By Grace & Roots · Published August 20, 2026
This post contains affiliate links. Grace & Roots may earn a commission at no extra cost to you. See our full affiliate disclosure.
A tired kitchen doesn’t always need new cabinets, new counters, or a full renovation. Most of the time, it just needs to be cleared, cleaned, and put back together differently — and that kind of change can happen before you buy a single thing. I start by removing everything from the counters. Once the visual clutter is gone, I can see what the kitchen actually needs instead of buying more things to compete with what is already there.
Quick answer: Clear the counters, deep-clean the visible surfaces, return only the items you use, and rearrange the room before buying anything. If the kitchen still needs something, replace or add one high-impact piece at a time.
Step 1: Remove Everything From the Counters
Start by temporarily removing everything: small appliances, papers, produce bags, decorations, duplicate utensils, and anything that really belongs in another room. Don’t organize around the clutter that’s already there — begin with a completely empty surface, then decide what actually deserves to come back.
Step 2: Deep-Clean the Visible Surfaces
With the counters clear, give the space a real clean. Focus on:
- Countertops and edges
- Backsplash
- Cabinet fronts and handles
- Appliance fronts
- Baseboards
- Floors
- Light fixtures
- Areas behind frequently used appliances
Grease, dust, and crowded surfaces can make a kitchen feel older than it actually is. A genuinely clean kitchen often looks refreshed before you’ve changed a single item.
Step 3: Decide What Deserves to Return
Before anything goes back on the counter, be selective. Return only:
- Appliances used several times per week
- Items that support a functional kitchen zone
- A small number of decorative pieces
- Containers that solve visible clutter
Rarely used appliances should be stored, donated, or relocated. A countertop should support how the kitchen works. It should not become permanent storage for every appliance the household has ever met.
Step 4: Create Practical Kitchen Zones
Once you know what’s staying, group it with purpose. Simple zones make a kitchen easier to use and easier to look at:
- Coffee and breakfast
- Food preparation
- Cooking
- Baking
- Produce and pantry storage
- Serving
Optional Storage Solutions
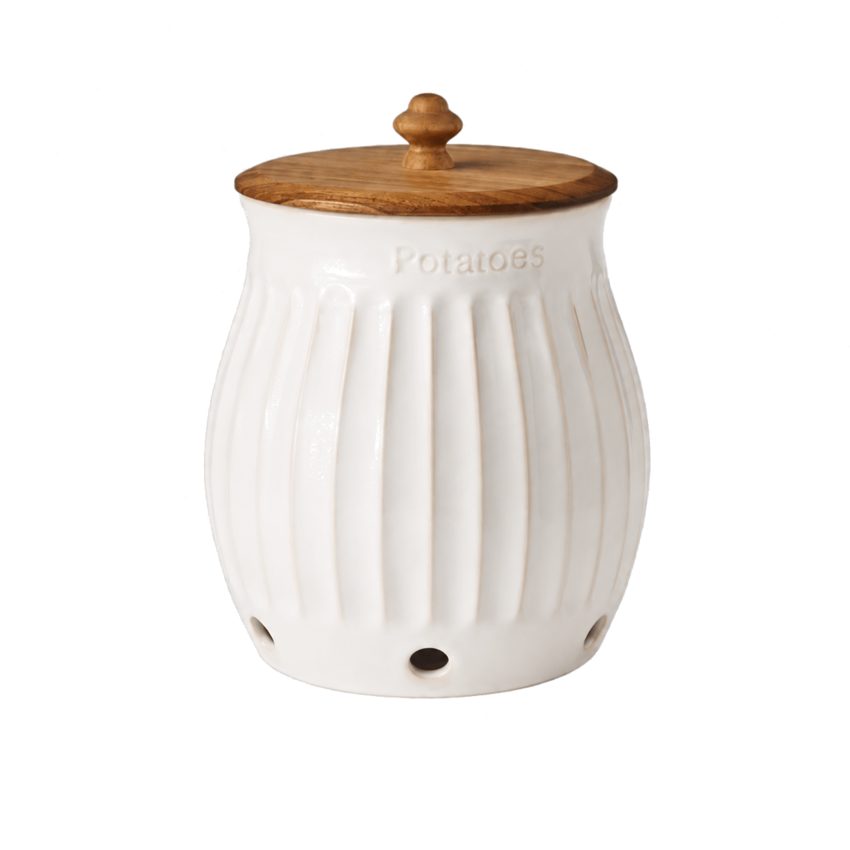
Colette Stoneware Potato Keeper
Fluted white stoneware with a warm wood lid, a home for the bag that usually sheds dirt on the shelf.
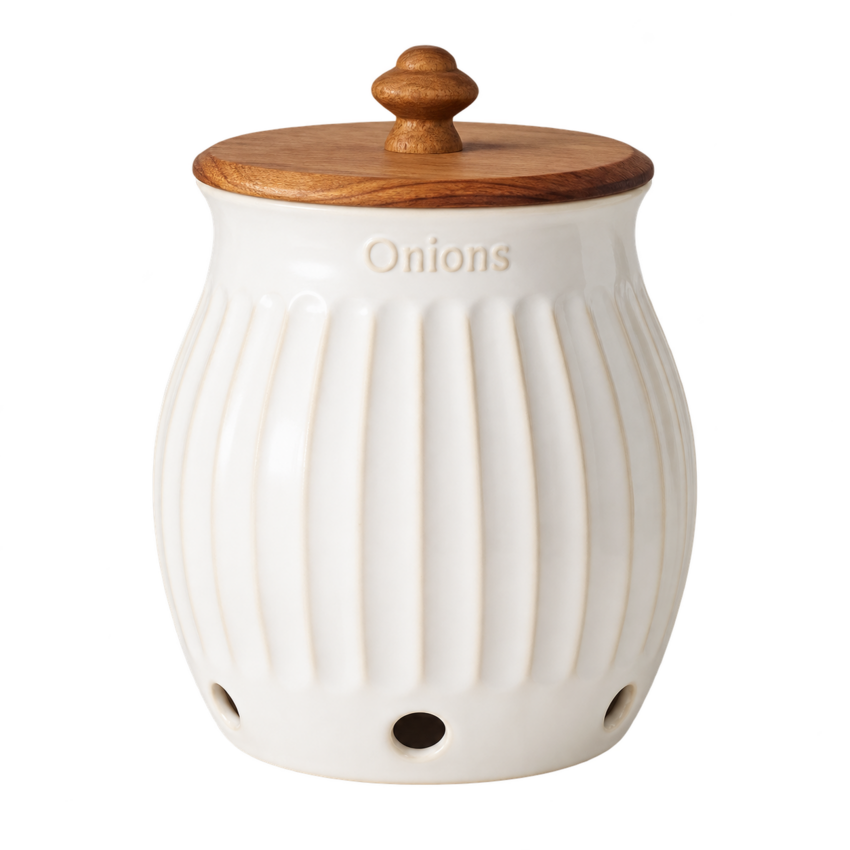
Colette Stoneware Onion Keeper
The matching piece, turns loose onions into part of the kitchen instead of something to hide.
Step 5: Rearrange Before Buying Anything
Before you spend a dollar, try moving what you already own. Changing the location of everyday items can improve both appearance and function:
- Move the coffee station away from the primary prep surface
- Group related items together
- Move rarely used appliances into cabinets
- Layer cutting boards near the prep zone
- Leave intentional open counter space
- Hide cords where practical
Step 6: Replace One High-Impact Appliance If Necessary
Don’t replace a functioning appliance just to create a matching set. If an appliance is worn, difficult to clean, no longer working properly, or already due for replacement, choosing a coordinated finish can make the counter feel more polished. Replace one item when there is a genuine need, and let the kitchen come together gradually.
Coordinated Countertop Options
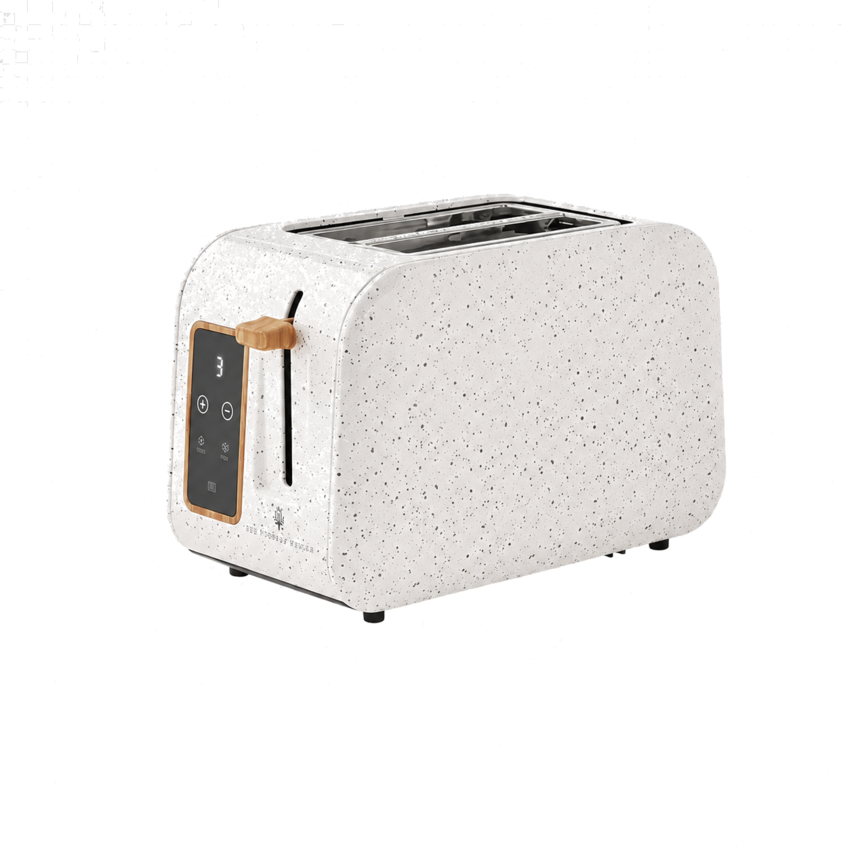
Digital 2-Slice Toaster
A linen-speckle finish and digital display give a breakfast essential a softer, more polished countertop presence.
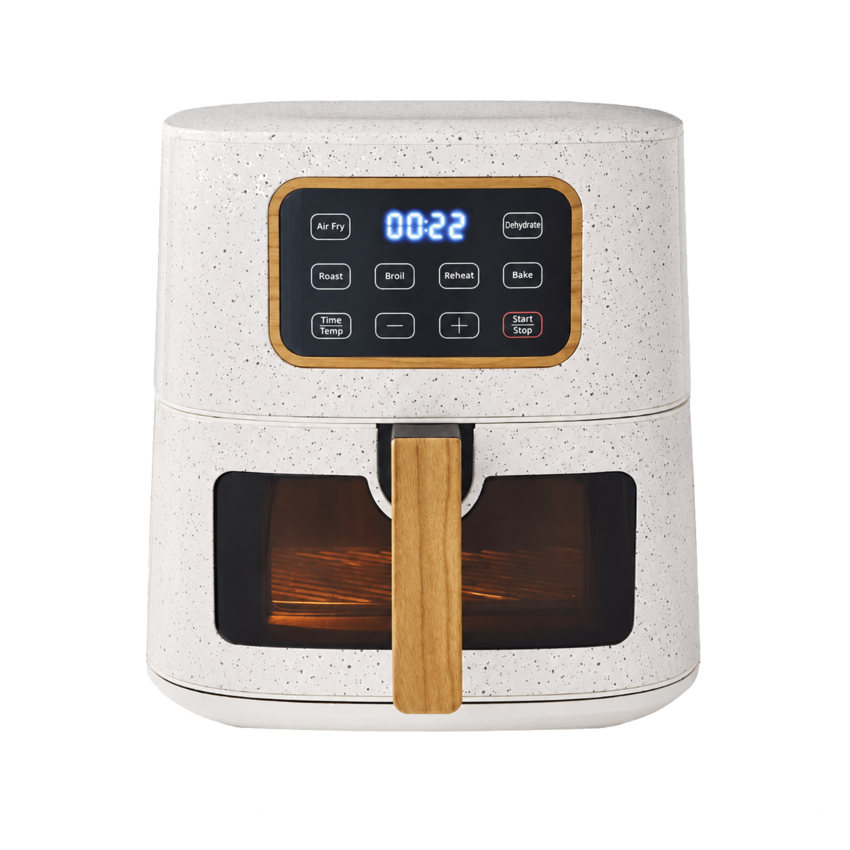
5.8-Quart Air Fryer
Practical capacity, easy-to-see controls, and a warm neutral finish that looks at home with the rest of the counter.
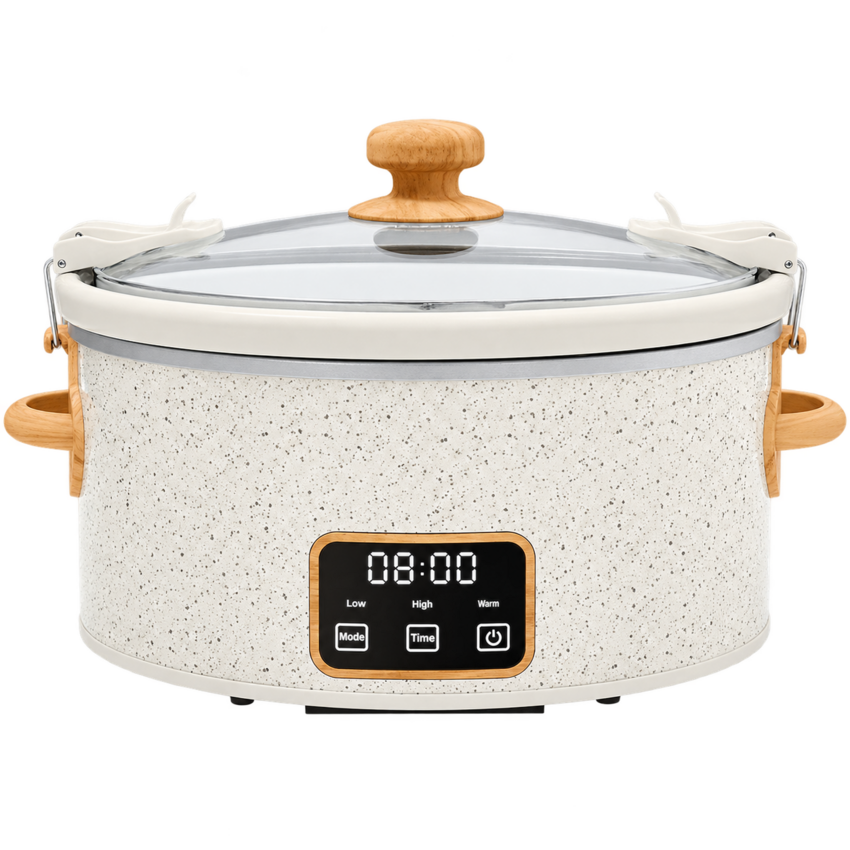
6-Quart Portable Slow Cooker
A guest-ready option for keeping a warm dish going while the oven and stovetop are busy with everything else.
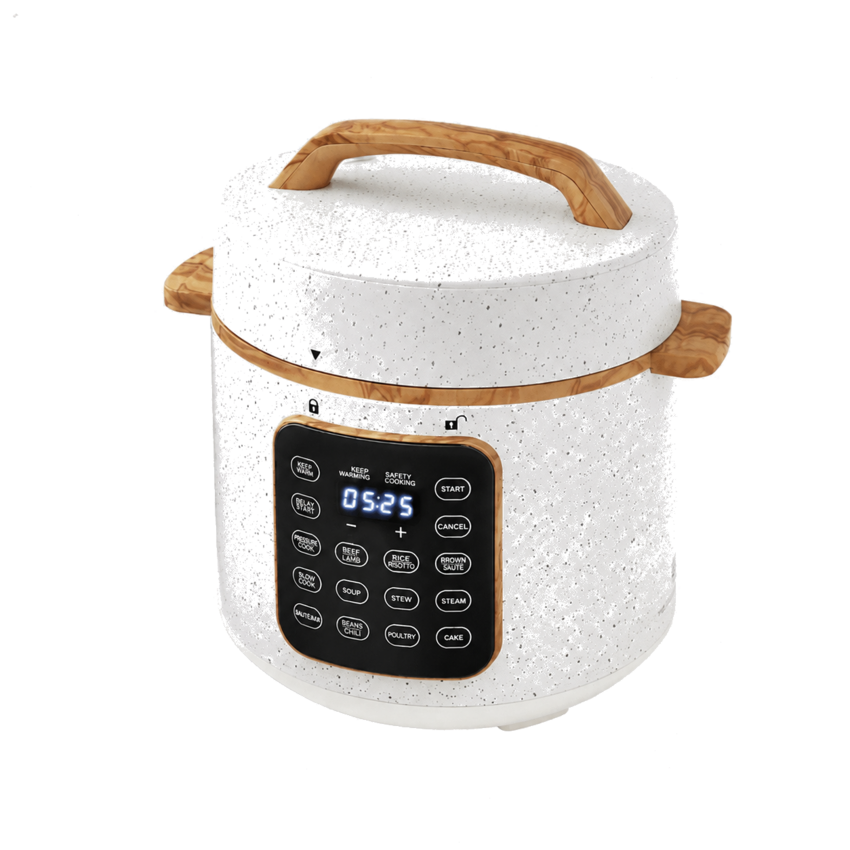
6-Quart Pressure Cooker
A touch-control cooker for busy meals in the same warm speckled finish, because coordinated can still be practical.
Step 7: Add One or Two Finishing Details
A kitchen doesn’t need decorations covering every surface. Choose one or two of the following:
- A warm cutting board
- A butter dish
- Fresh or faux stems
- A small tray
- Coordinated towels
- A bowl of seasonal fruit
One thoughtful detail looks styled. Seven thoughtful details are usually just another cleaning project.
Simple Finishing Touches
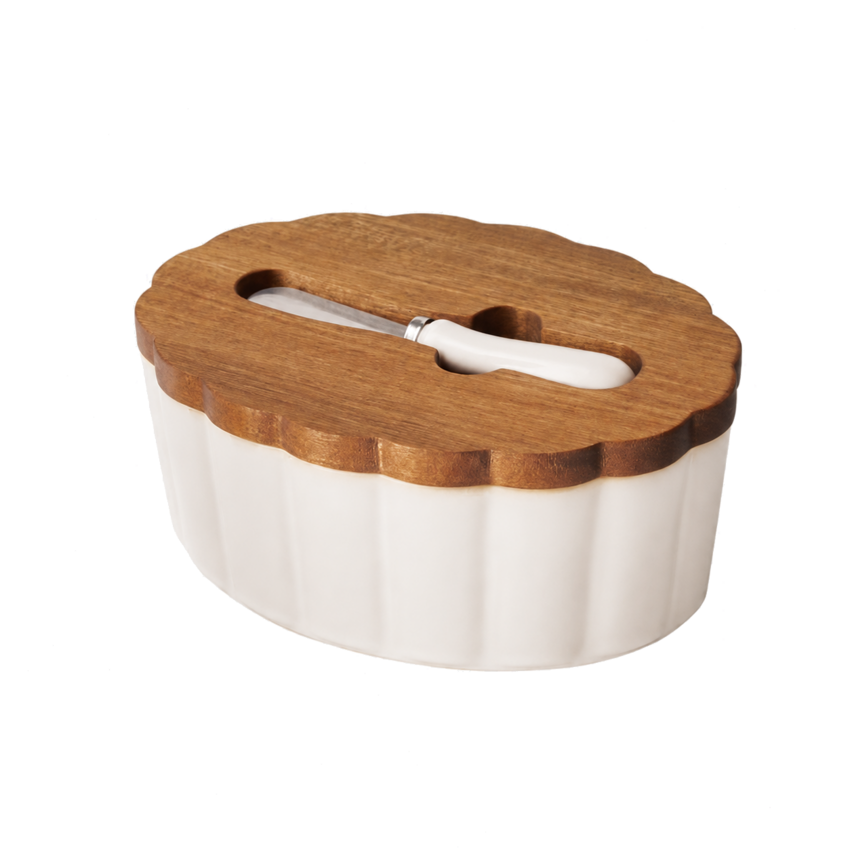
White Stoneware Butter Dish
A classic white-and-wood detail that makes the breakfast counter or holiday bread service feel a little more finished.
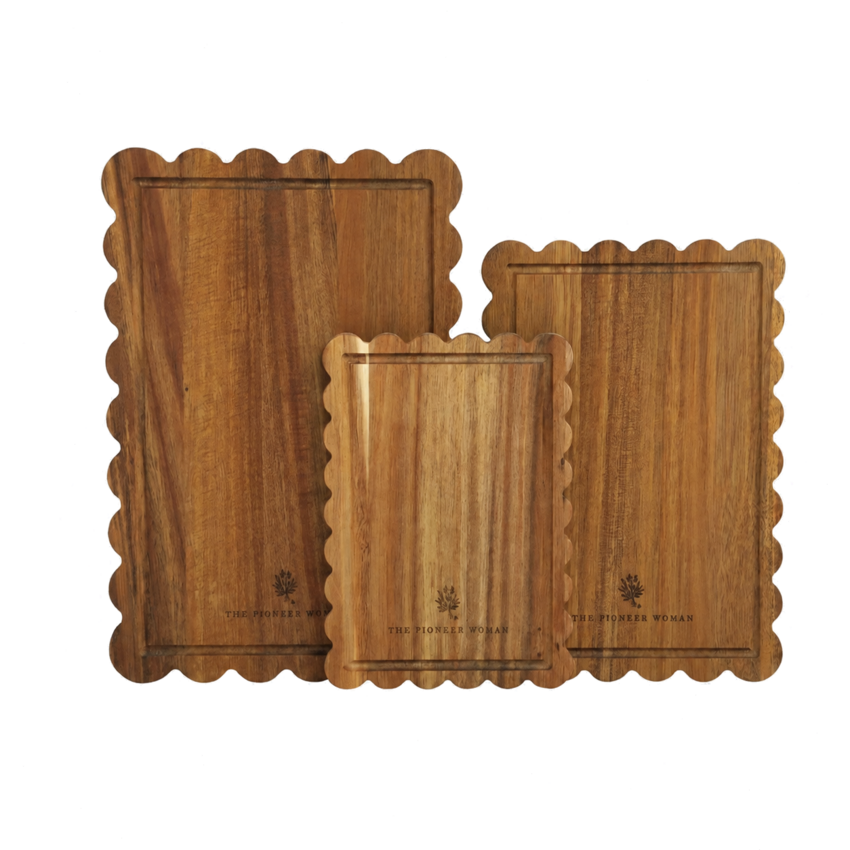
Acacia Scalloped Cutting Boards
Layer one or two against the backsplash for warm texture, then pull them down when it’s time to prep.
Step 8: Choose the Refresh That Fits Your Budget
| Refresh Level | What It Looks Like |
|---|---|
| $0 Refresh | Clear, deep-clean, edit and rearrange. |
| Under $50 | Add towels, countertop storage or one decorative detail. |
| $50–$150 | Replace one worn or highly visible countertop appliance. |
| Gradual Refresh | Coordinate appliances only as existing ones need replacing. |
Worth knowing before you buy
These pieces are coordinated and sold separately, the “complete look” isn’t a one-click bundle, so plan to select each item individually. These are curated finds Grace & Roots researched and selected for their shared palette and finish.
The bottom line
Your kitchen doesn’t need to be replaced all at once. Start with the free reset, and shop only after you’ve identified a genuine functional or visual gap. For more organization systems that actually stick, visit the Home & Kitchen hub or browse the full Tips & Guides archive.
Grace & Roots shares home, beauty, and everyday finds selected for their style, usefulness, and value. Learn more about Grace & Roots.